Assembly Instructions
1. Follow the instructions to create a basic Y-maze, excluding the 3 wall panels on the arm ends.
2. Print the 3D parts, order the electronics, and download the code listed in the sidebar.
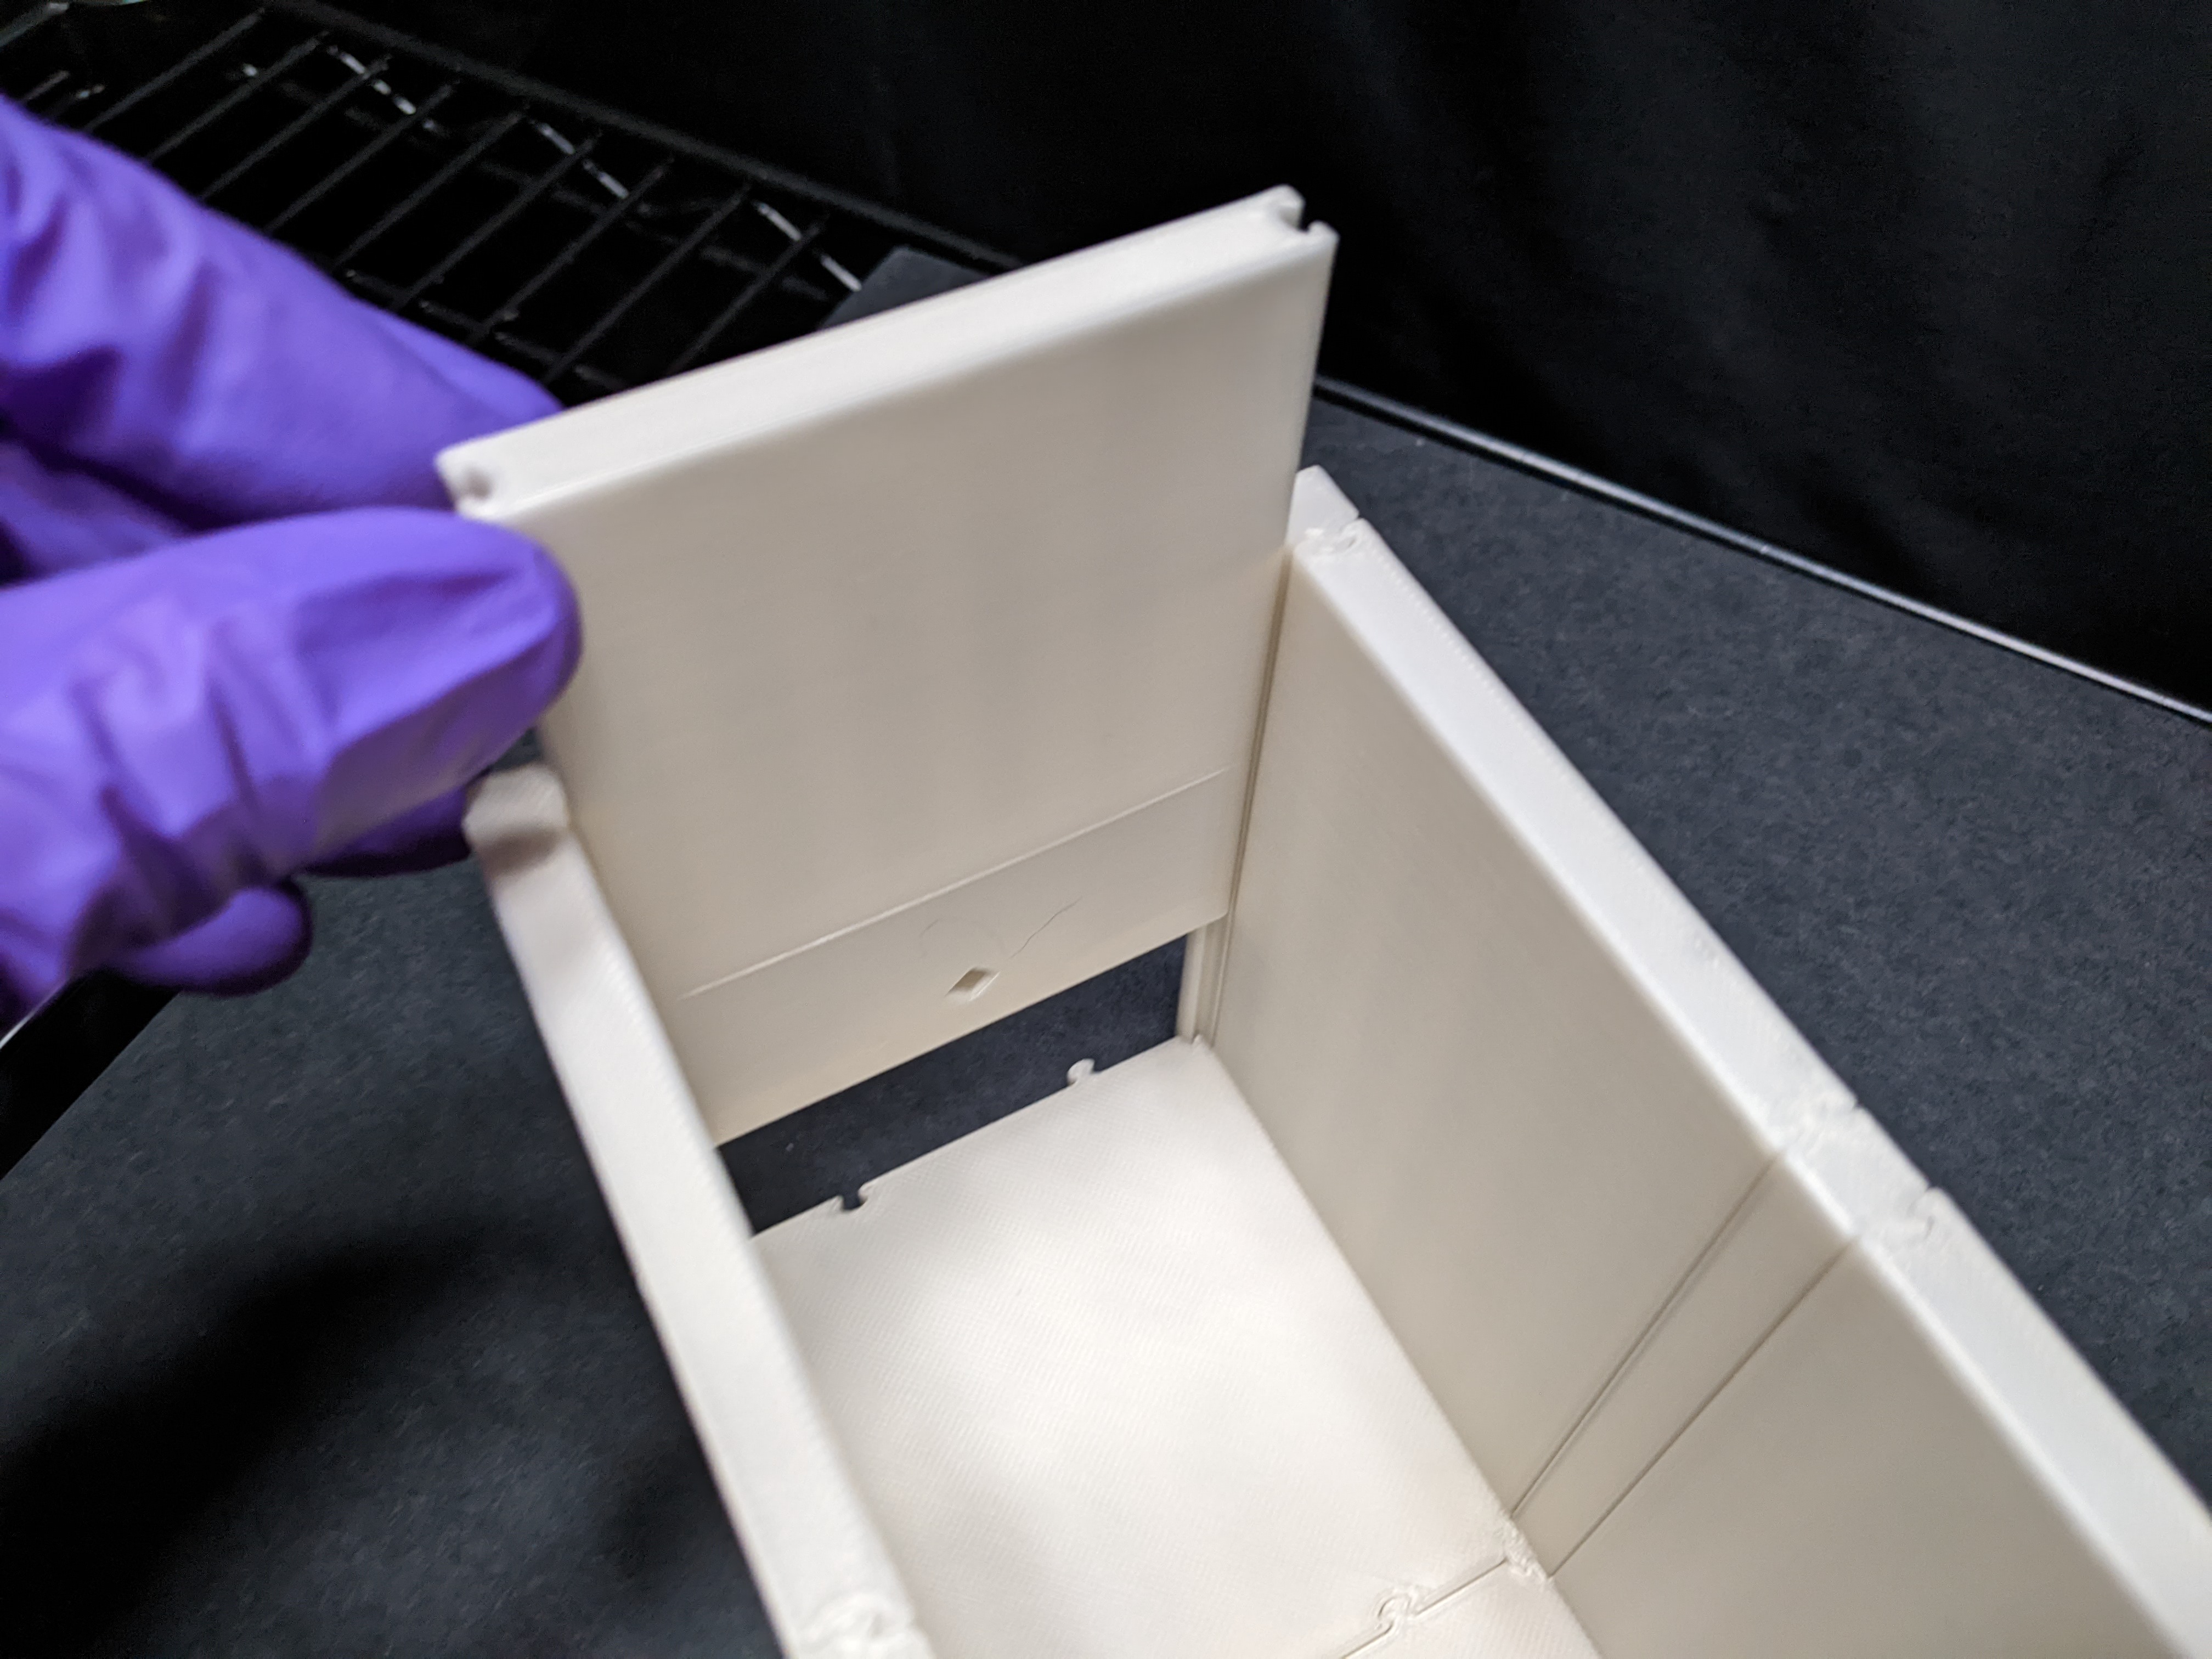
3. Slide the ending wall panels (with sensor port) into all 3 arm ends.
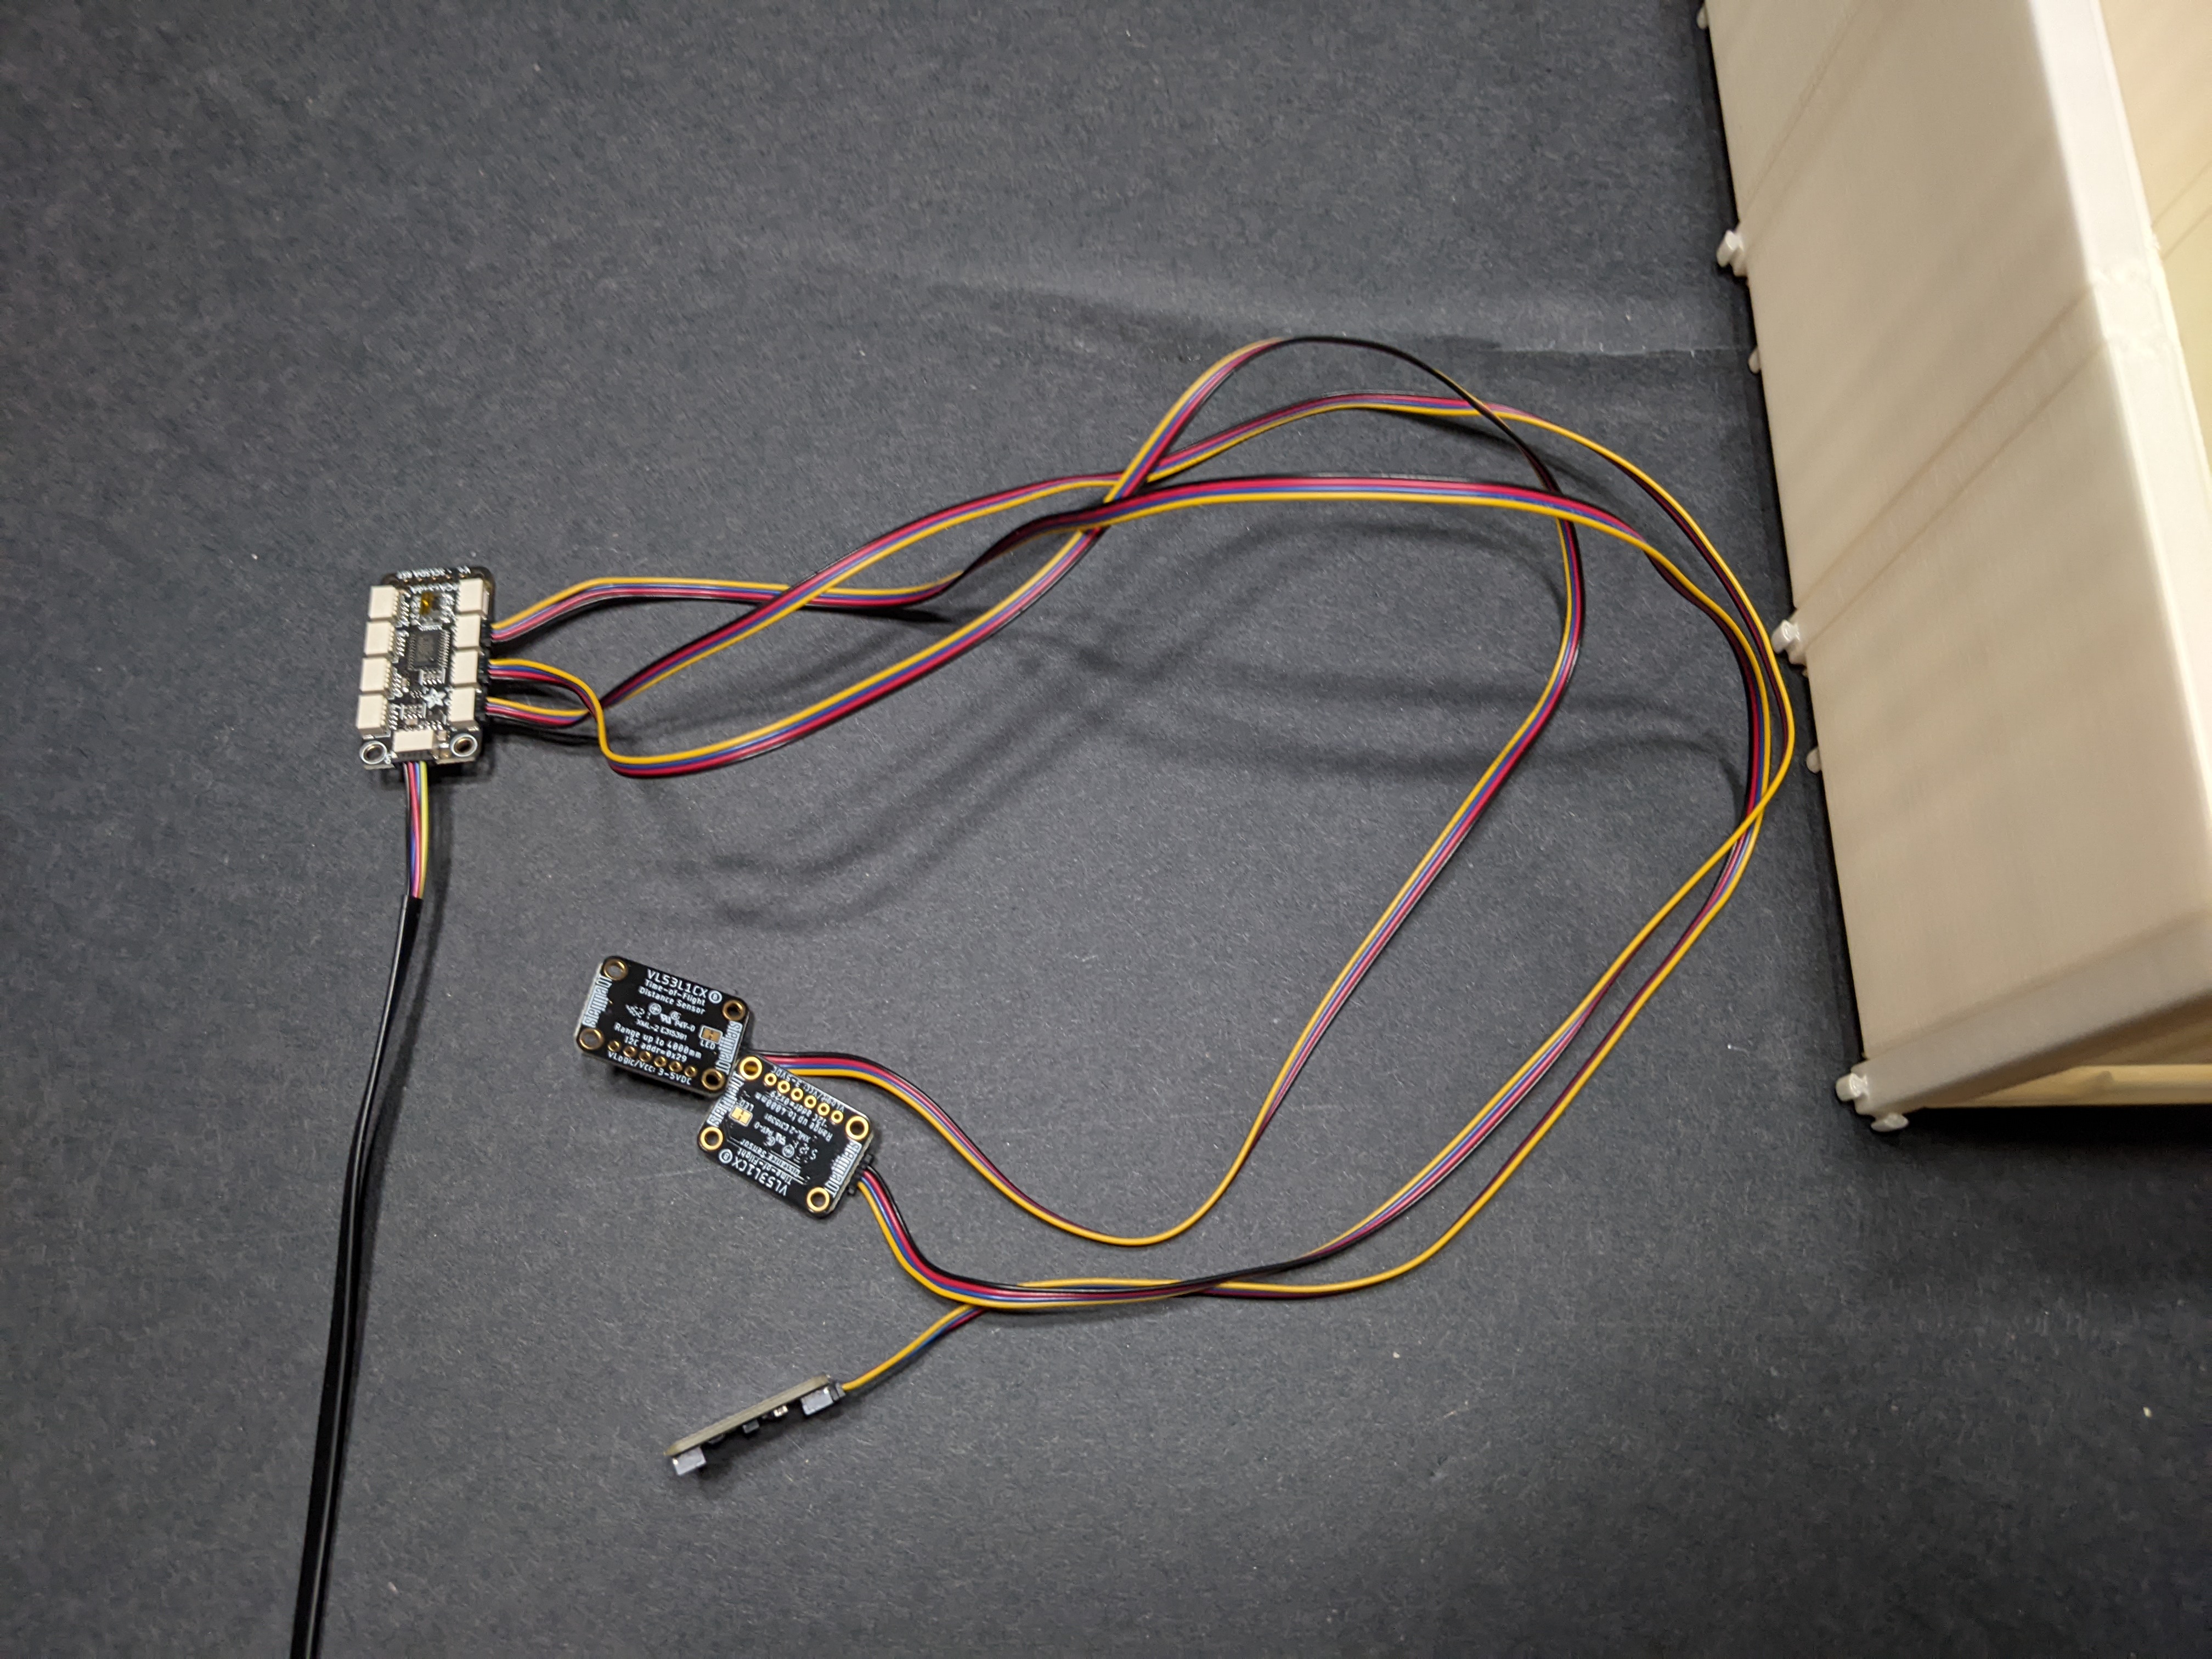
3. Connect the 3 distance sensors into the multiplexer (on ports 0, 1, and 2), and conenct the multiplexer to the microcontroller.
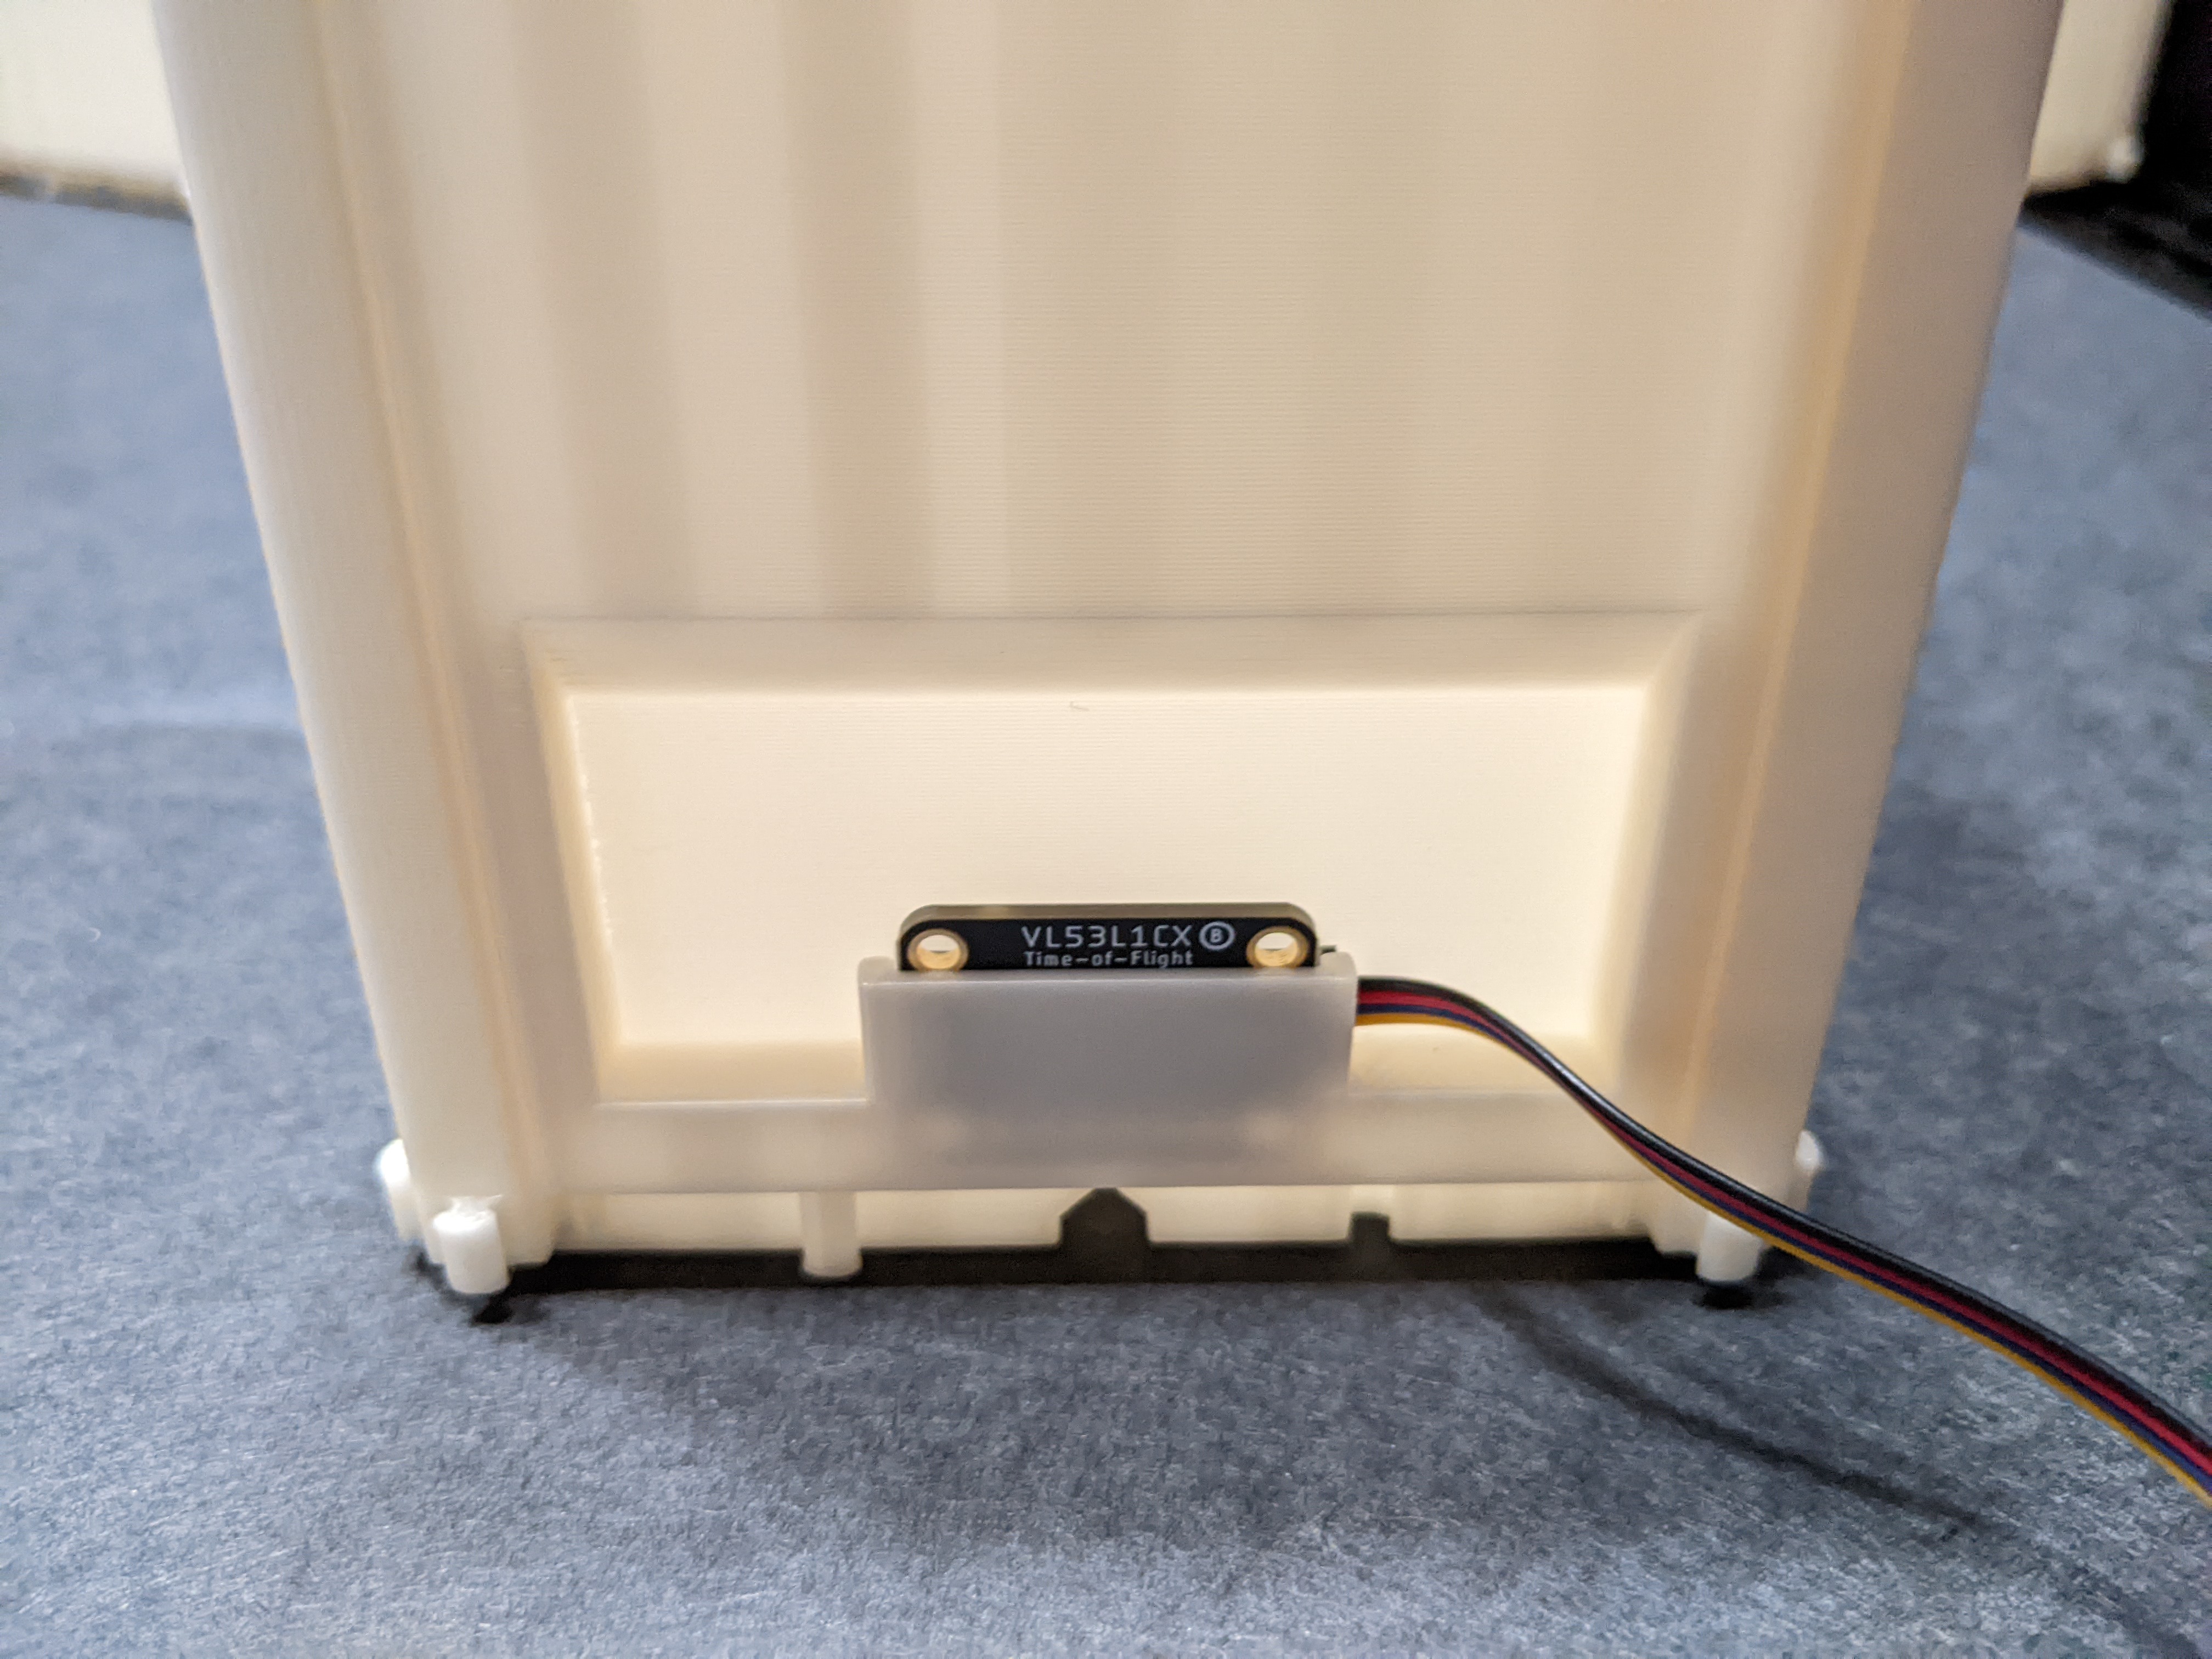
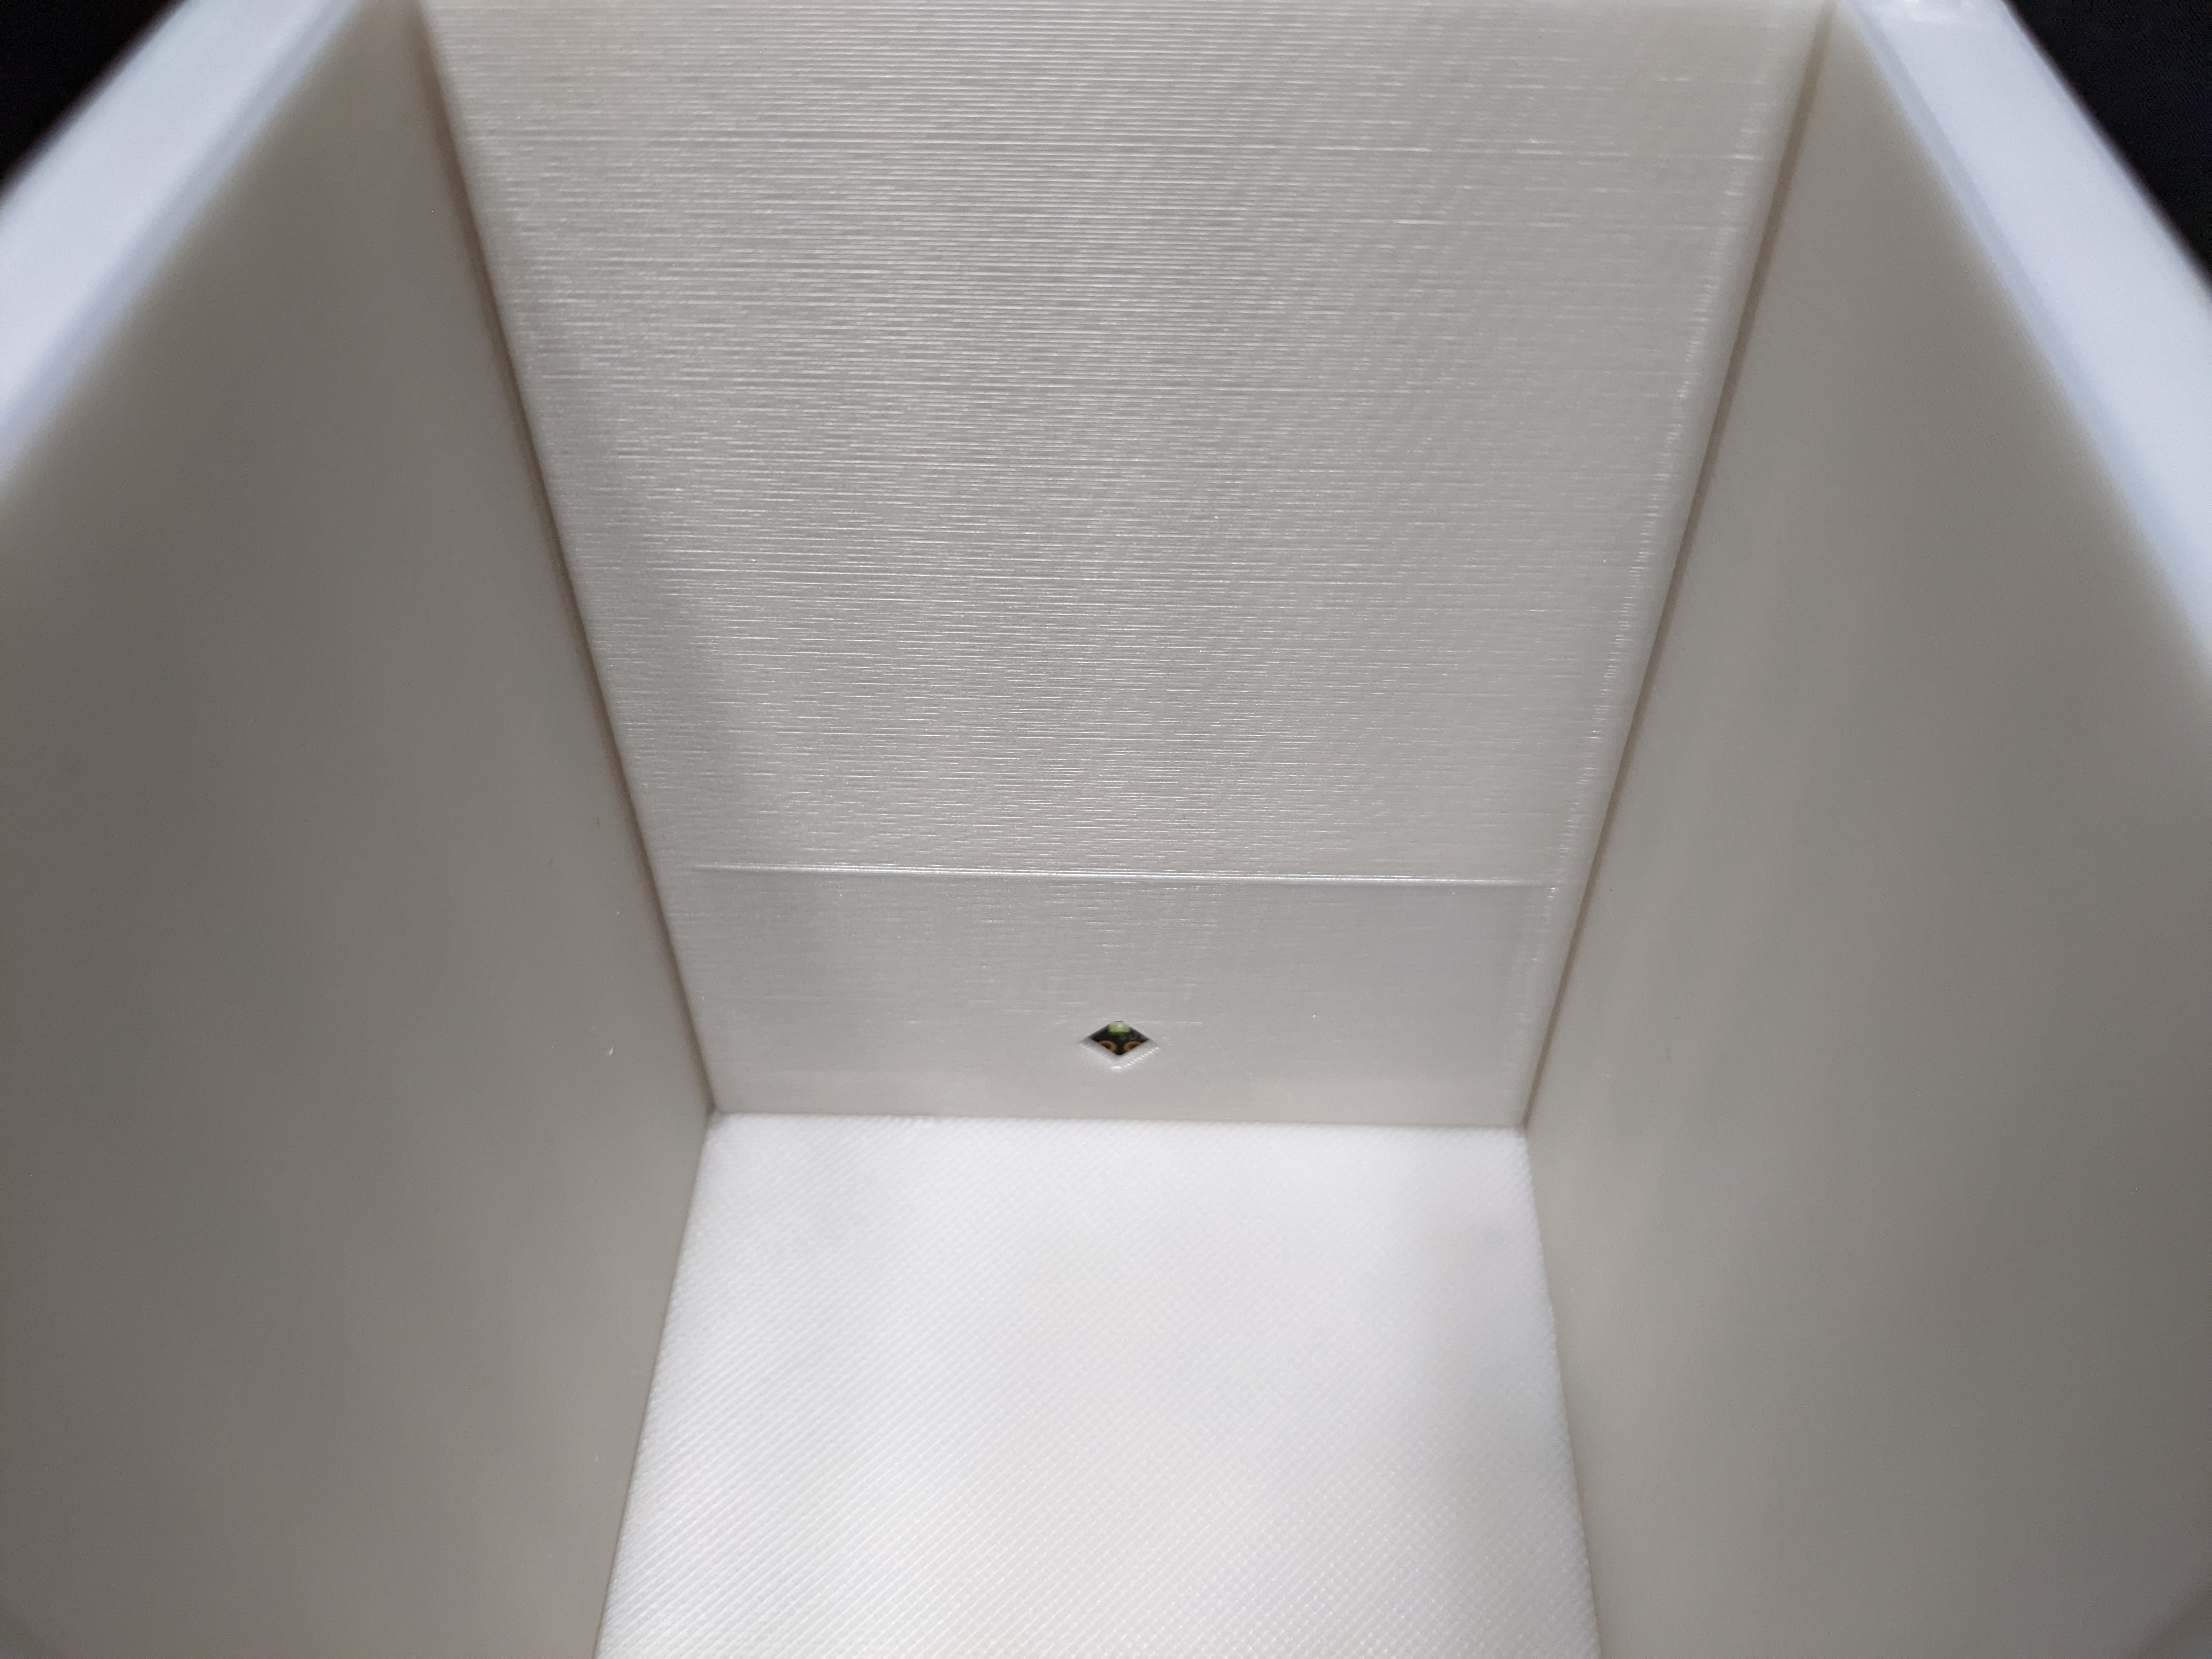
4. Insert the distance sensors into the sensor wall panels, with the sensor facing inside the maze.
5. Upload the automation code to the micocontroller.
(how to upload microcontroller code)
6. Plug in the microcontroller to a PC.
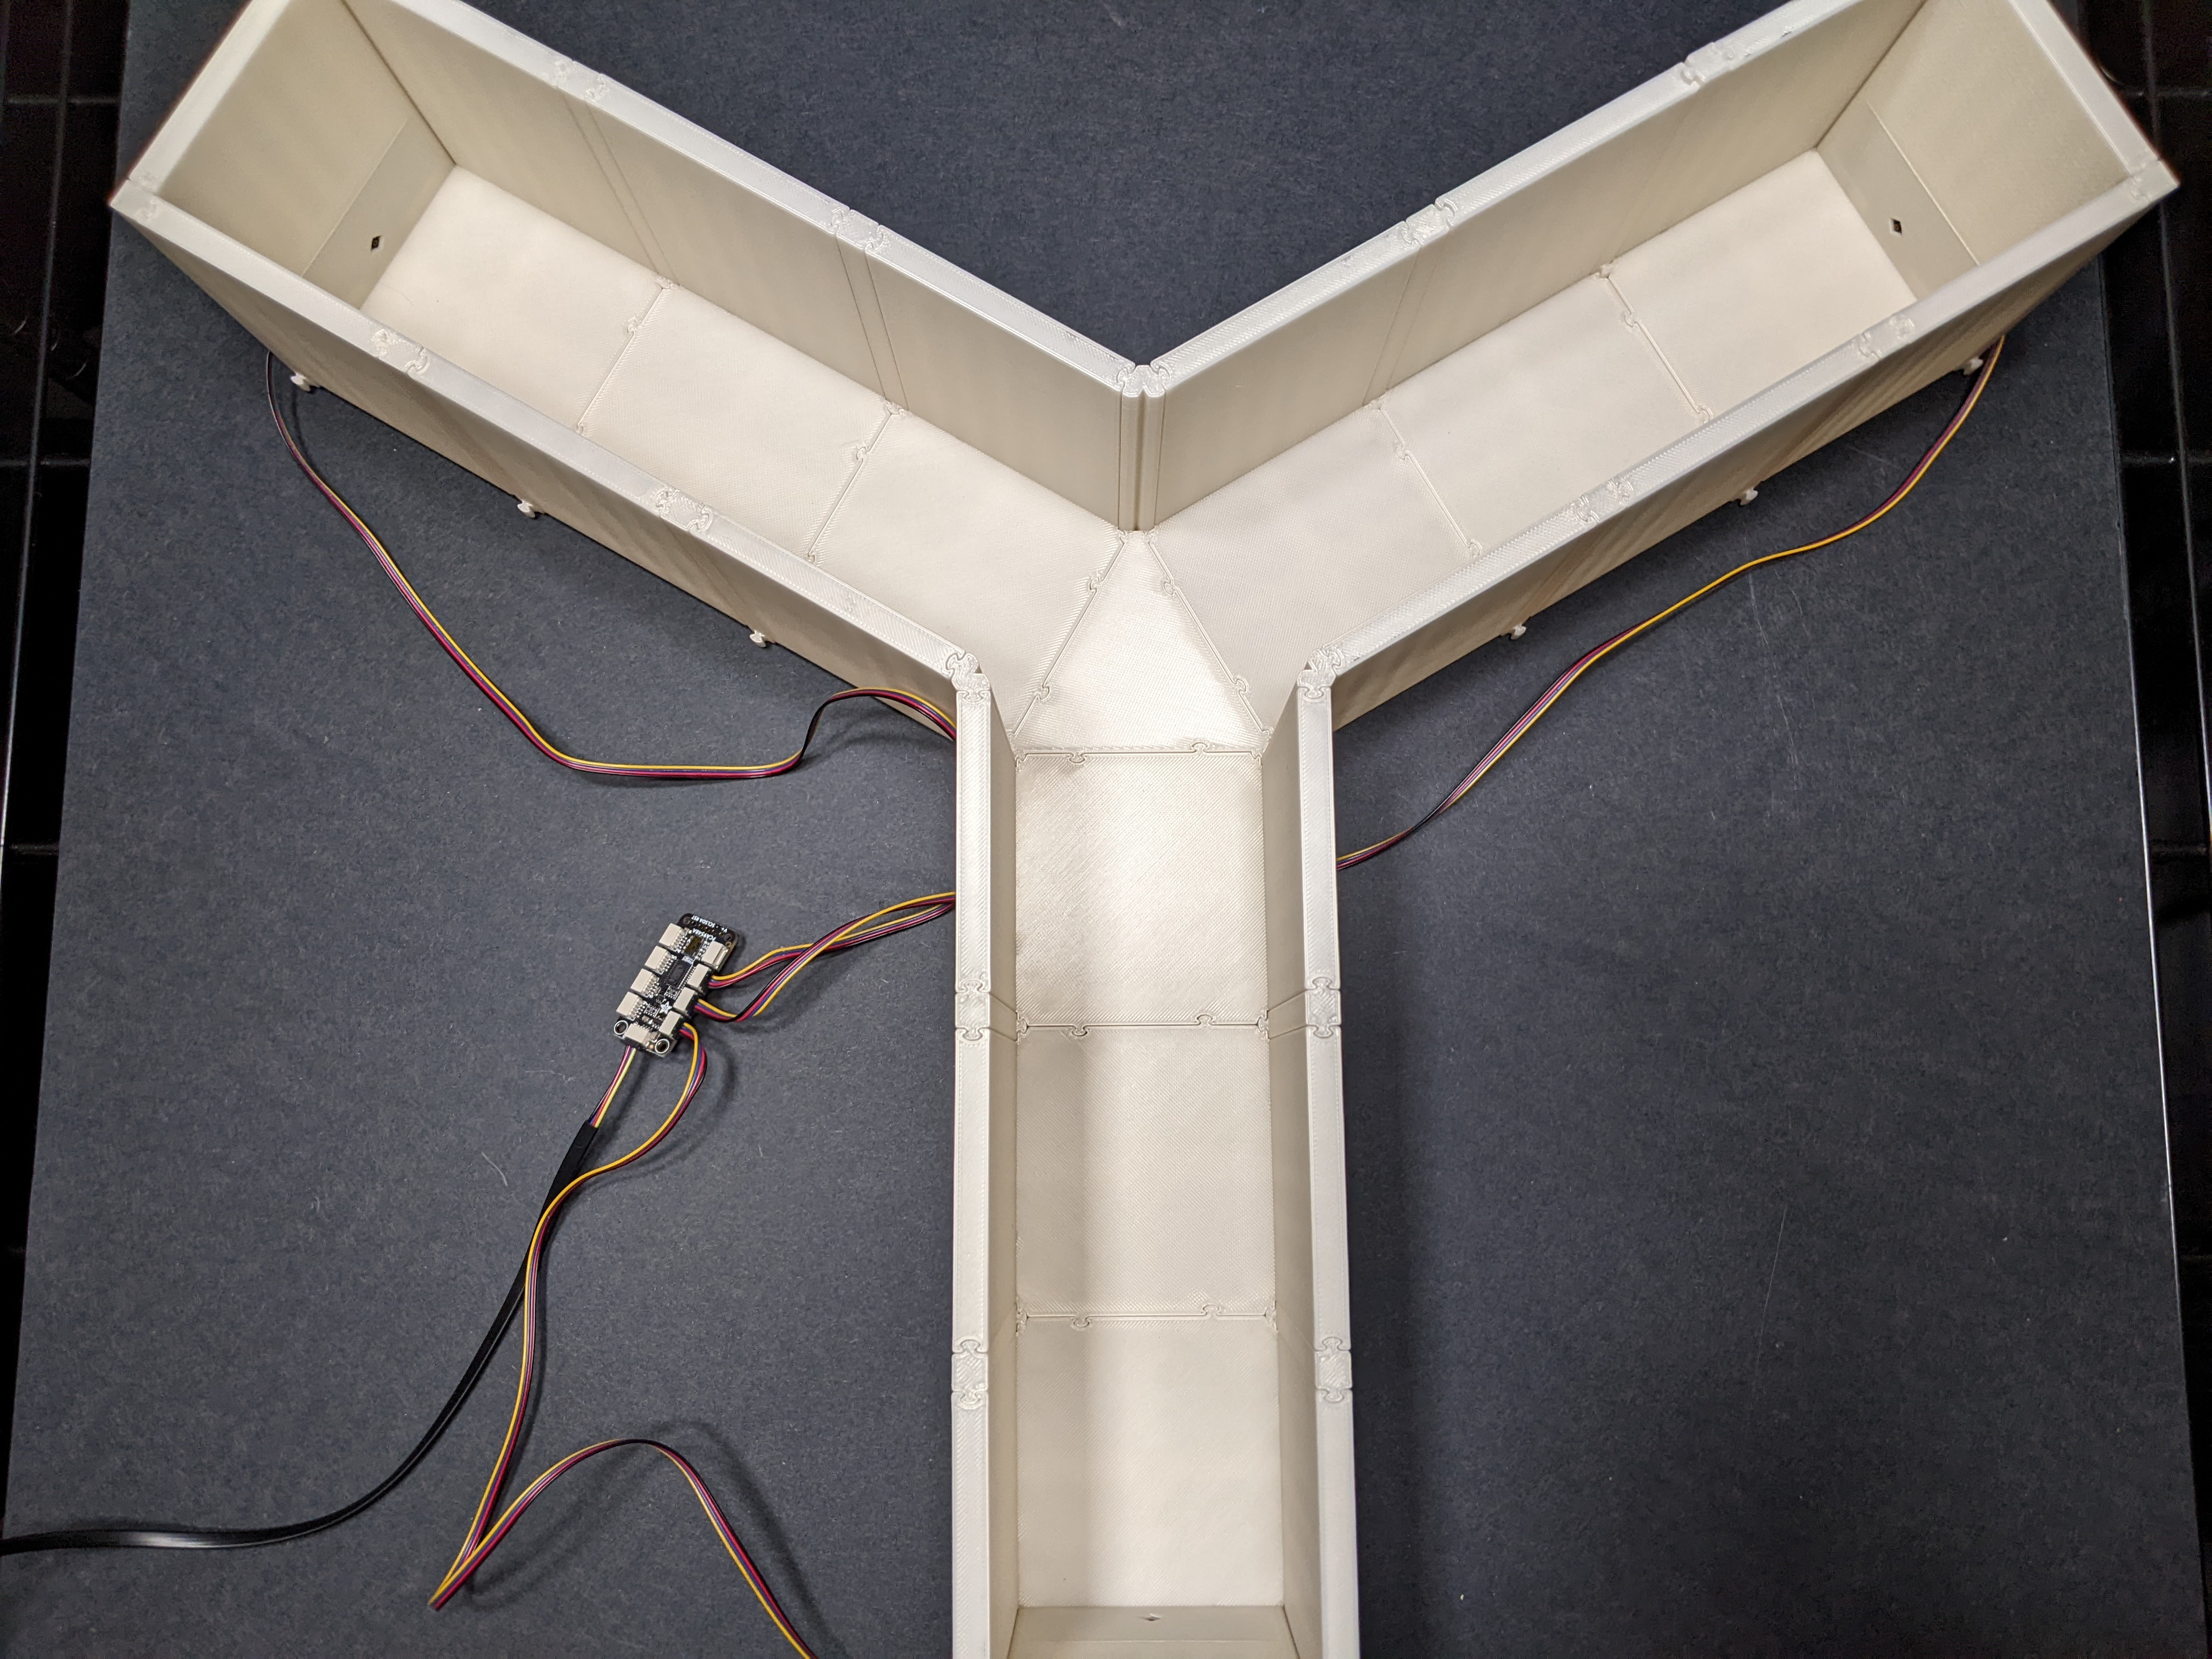
The Y-maze is now automated!
Assembled automated Y-maze
Parts
3 x distance sensors
1 x microcontroller (Arduino-based)
4 x I2C cables
1 x USB cable (to connect the USB-C microcontroller to the PC)
multiplexed distance sensors Arduino code